Whats
on the docket today... ah yes, one of my recent Craigslist acquisitions from the free postings. This particular model has been discontinued, and sells anywhere from $15 to $60 on eBay. My question is: why electronic typewriters? It seems like another example of adding unnecessary complexity to something which worked perfectly fine before. A look at Wikipedia gives us an answer: "For a time, these products were quite successful as their plastic
daisy-wheel was much simpler and cheaper than the metal typeball" system used with analog typewriters.
But cheaper and simpler in some ways means more complex and expensive in others.
Indeed, the reason the original owner got rid of it was that she was sick and tired of the fact that roughly 1/4 of each disposable "ink" reel was scrapped just getting the thing to print consistently before it could be used. Plus, each of the disposable cartridges cost $10-$15 each. And in the case of this model, none of the fancy spell and grammar checkers (made possible by a few kilobytes of internal RAM), or other features like floppy disk readers were present.
Ah well, so it wasn't the crown jewel in Brother's line. But it made for a fine teardown.
 |
| The surprises hit early, though perhaps not often... there are no screws visible anywhere, top or bottom. I'd have to search for them. But while we're here, take a look at that flip out handle on the bottom there. I admit, it didn't exactly pop off easily when I tried to remove it, but I wouldn't trust it to hold the 10-15 lbs. that this thing weighs; would you? |
 |
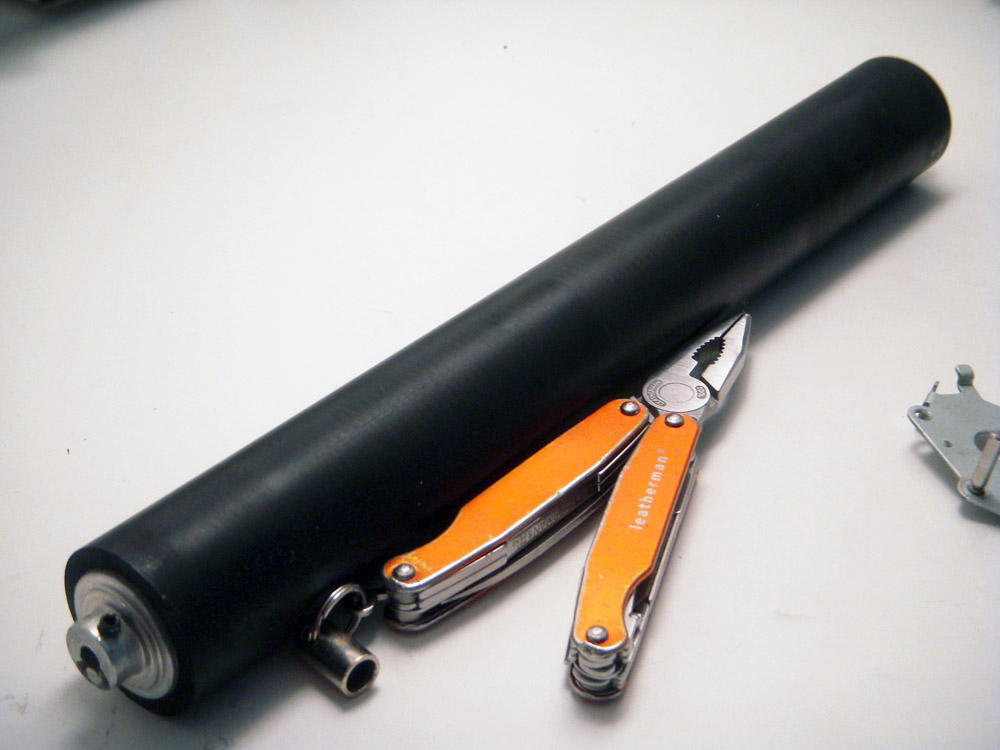
| A first glimpse inside the paper loading bay/ tray. You can see the rubber roller which advanced the page, and the "ink" cartridge mounted to the "heart" of the machine. Don't worry, we'll get to them. |
 |
| Boy, thats dirty. Its a little lever that would put pressure on a curved metal piece against the roller to lock the page in place where you wanted, at which point the machine would mechanically advance the page for you. |
 |
Ah, there they are. A grand total of two screws held the casing on.
|
 |
| With the top piece of the casing off. |
 |
| Keeping with the minimal fasteners theme, the keyboard had little snap tabs keeping it in place. |
 |
| Underside of the keyboard. Have I mentioned how great snap tabs are for fastening? I just have a thing for the cheaper, clever way of doing things. |
 |
| That's new. As we've seen in other posts, the workers assembling these machines will make little notes here and there. But they're mostly in some kind of a permanent marker. This was a wax pencil or something similar - it gets the job done but is more subtle. |
 |
| Interesting. When a particular key is pressed, the corresponding grey knob underneath it depressed, completing a circuit when it does. The rubber of the grey knobs would then act as a spring, pushing the key back up. It seems to be a pretty solid design - none of the knobs seemed to be wearing noticeably at all after roughly 20 years of ownership. |
 |
| Underside of the "circuit-sheet". |
 |
| The motherboard sits open for us now that the keyboard is gone. |
 |
| Interesting little structure they made to hold the LEDs in the right position. |
 |
| Hey, its a piezo-buzzer. I've never had the pleasure of taking one apart, so I thought I would this time. |
 |
| Yeah, doesn't get much more simple than that, does it? In the picture below, you'll see two flex-pins that contacted the ceramic lined brass disk in this picture. Those pins delivered a charge to the ceramic disk, causing it to essentially become a speaker cone like you'd see in any normal speaker. This is just a really crappy, cheap speaker cone (though its extremely accurate, so I suppose "crappy" is a relative term). |
 |
| Just showing that it is, in fact, ceramic - it cracks while the metal bends. |
 |
| Underside of the motherboard. With how uniform those solder beads are, it reminds me of something you'd see on the fantastic tumbler, Things Organized Neatly. By sheer coincidence, their post from two days ago featured a traditional typewriter which had been disassembled. |
 |
| That's machine precision right there. |
 |
| Next up is the disposable "ink" cartridge. I keep saying "ink" in quotes because its not really ink so much as a black powder on plastic film. |
 |
When the hammer strikes, it strikes through this film onto the paper
|
 |
| It didn't take long for me to realize that I could unwind the tape and discern what the previous owner had been typing. I didn't look into it that hard though mostly because it felt vaguely morally wrong. But what I did see seemed pretty normal and boring. |
|
 |
| The servo controls the wire you see here which moved the typing mechanism across the page as you type. |
 |
| Another servo controlled the rotation of the roller which advanced the page. |
 |
| The roller was held on its pins by set screws which were tightened way, WAY too much. |
 |
| The roller looks to be perfect for some lino-cut printing. |
 |
| Remember the lever which locked the page to the roller from before? This is how it was installed. Love it. The lever and the tabs you see sticking through were molded as a single part, then pushed through the holes in the chassis. Once through, the tabs sprung past the openings and it was allowed to spin freely while holding itself on. |
 |
| I don't know why I have this fascination with different fastening techniques, but here's another: Little tabs from a cross beam of the chassis poke through here, then have a little collar of plastic melted around them. Let me tell you, it is rock solid. |
 |
| And so, it comes to this. The "heart" of the machine. |
 |
| Heart surgery. Seriously, I'm not knowledgeable enough to detail everything going on here, but it is one dense mass of motors, springs, actuators, hammers, and gears. |
 |
| This is the defining feature that makes it an electronic typewriter: the daisy wheel. Each "petal" has an individual character of type molded on it (see detail shot below). It seems pretty ridiculous to me that the motor which controls the rotation can so quickly and precisely spin the wheel that it could keep up with a normal speed of typing, but that's why I respect engineers so much. |
 |
| I was confused for a bit there seeing as none of the words written on this separate and clearly different tape made any sense, but then I read about it in an online manual. Turns out its correction tape. |
 |
| Detail of the hammer. What I found interesting here was that it had a pretty significant weight attached to it. It doesn't need the weight to make a solid mark; the motor would be plenty strong for that. Rather, if I had to guess, I would say its to create a noticeable "thunk" sound and slight physical jolt when it retracted. For lack of a better term, I'll call this "vestigial design", because its meant to mimic the solid thunks of the traditional typewriters it replaced. Another example of something similar is the "thunk" you hear when a car door closes - its unnecessary (and artificially loud), but makes the consumer feel like its well built. |
 |
| But in case you were really curious, we ended up with two motors, and what I assume is an electromagnet pulled out of the heart. |
There you have it. Gotta say, this just makes me want to pull apart a traditional typewriter, which would be far less electronic and far more gizmo-y. As it turns out though, I've had friends giving me all sorts of stuff to take apart and I'm terribly backlogged, so I'll go through some of that stuff before I come across a typewriter again.
'Till next time...


Online Gaming - JTM Hub
ReplyDeleteJTM has the latest gaming 광명 출장마사지 news from the industry. We want your business to be profitable. Join 과천 출장샵 today 순천 출장안마 and get the 천안 출장안마 latest offers. Your betting 포천 출장샵 Rating: 4.6 · 19 reviews
Channel and Tray is your trusted source for high-quality metal trunking and bends. Our durable metal trunking systems provide reliable protection and organization for electrical cables and wires. With a wide range of sizes and configurations, our trunking solutions are designed to meet your specific needs. Our expert team can also provide custom bends and fittings to ensure a seamless installation.
ReplyDelete